...
- Download it from our Downloads page and copy it to a Media Storage.
- Import it into the platform with the Import Guest Wizard of the Tools menu:
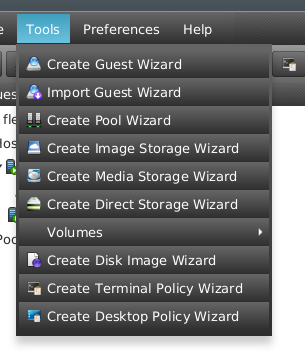
Just follow the instructions to create the WebPortal image in one of your Image Storages and the guest in one of your Pools. - The WebPortal comes preconfigured with 1 vCPU and 2 GB of RAM, with one virtual network interface attached to virbr0. Configure it to your needs, specially the network interface.
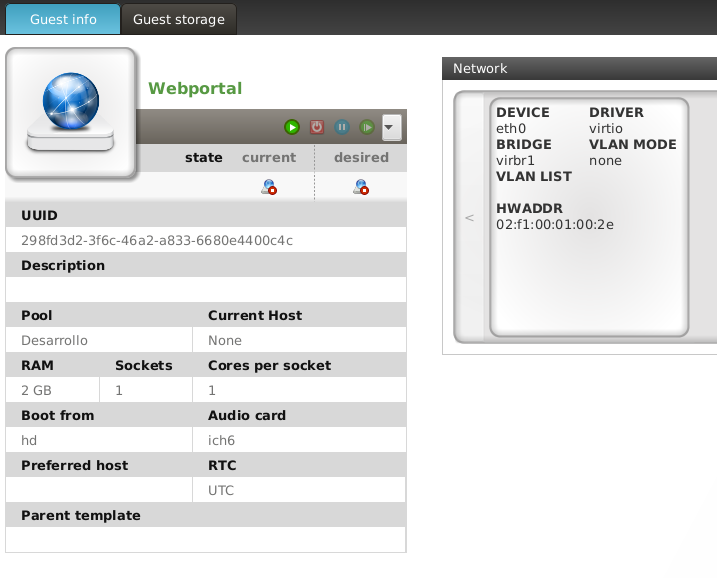
- Start the WebPortal guest and open a console to it. When the prompt appears, log in as root. The default password is "flexvdi".
- Launch the
flexvdi-configprogram to set up the WebPortal appliance. It will show a menu similar to the one shown byflexvdi-configin the hosts. - Enter in the Network submenu and set up the IP address of the WebPortal network interfaces and the DNS server configuration.
- Enter in the WebPortal submenu and set up the IP address of the manager to which you want the users to connect.
- New on 2.2.12: In this submenu, you can also upload an SSL server certificate and use it to identify the WebPortal.
- Exit the
flexvdi-configprogram, log out and close the console. - Open a web browser and head to the IP address you just set up for the WebPortal. You should be able to see the following login form:
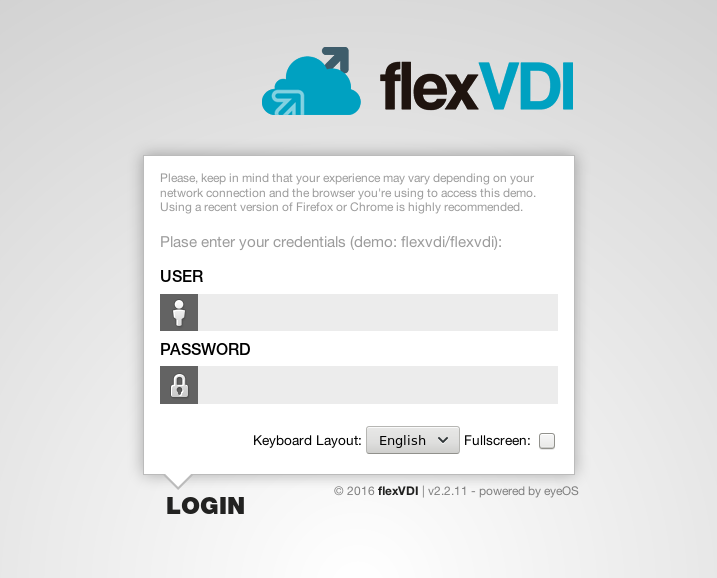
- Your WebPortal appliance is up and running. Enjoy it!