...
- Download it from our Downloads page and copy it to a Media Storage.
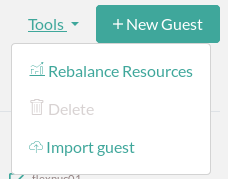
- Import it into the platform with the Import Guest Wizard flexVDI Dashboard. Select the Pool where you want to import it, and select the "Import guest" action of the Tools menu :
in the top right corner:
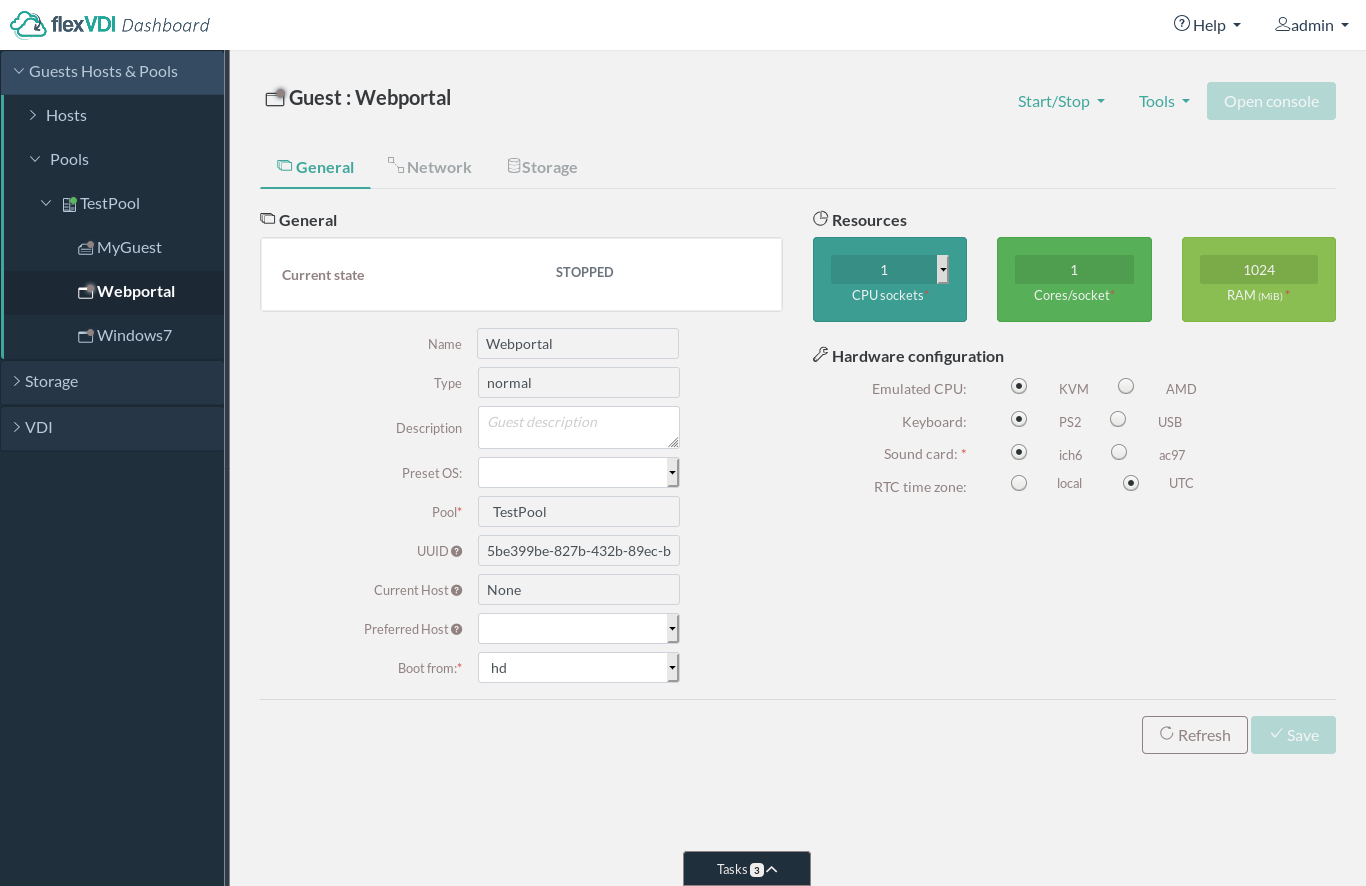
Just follow the instructions to create the WebPortal image in one of your Image Storages and the guest in one of your Poolsgive it a name, select the image to import and where to store it. - The WebPortal comes preconfigured with 1 vCPU and 2 1 GB of RAM, with one virtual network interface attached to virbr0. Configure it to your needs, specially the network interface.
- Start the WebPortal guest and open a console to it. When the prompt appears, log in as root. The default password is "flexvdi".
- Launch the
flexvdi-configprogram to set up the WebPortal appliance. It will show a menu similar to the one shown byflexvdi-configin the hosts. - Enter in the Network submenu and set up the IP address of the WebPortal network interfaces and the DNS server configuration.
- Enter in the WebPortal submenu and set up the IP address of the manager to which you want the users to connect. In this submenu, you can also upload an SSL server certificate and use it to identify the WebPortal, and enable/disable the flexVDI HTML5 Client from this submenu. In this way, you can provide just the flexVDI Gateway feature.
- Exit the
flexvdi-configprogram, log out and close the console. - Open a web browser and head to the IP address you just set up for the WebPortal. You should be able to see the following login form:
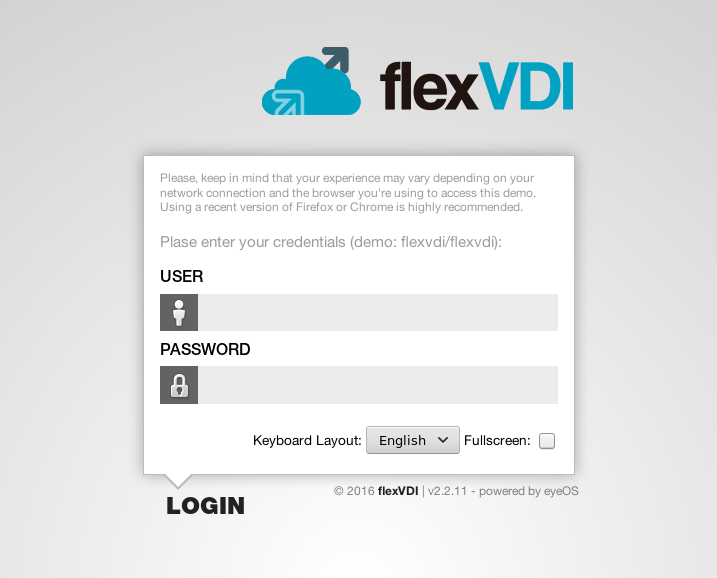
- Your WebPortal appliance is up and running. Enjoy it!
...