Installing flexVDI 3.0
In order to install flexVDI 3.0, you will need the following files.
- The flexVDI 3.0 installer.
- A flexVDI manager disk image, only if Hosts cannot access internet. Otherwise, flexVDI Config can automatically download the image during the installation process.
Both files can be downloaded from the flexVDI Customer Portal.
Minimum requirements
flexVDI 3.0 requires the following components to be successfully installed:
- A physical server. flexVDI cannot be installed in a virtual machine managed by a different hypervisor. Trying to do so is not supported and will fail in confusing ways.
- 4GB of RAM.
- A dual core, 64-bit Intel-architecture CPU. 32-bit CPUs are not supported, nor any other architecture other than x86_64.
- 64 GB of disk space.
To these requirements, you have to add the RAM, CPU cores and disk space you want to dedicate to your Guests and to image cache.
Virtualization must be enabled in system BIOS. Look for an option in CPU configuration called "Enable VT-x" or "AMD-V" and check that it is set to "yes".
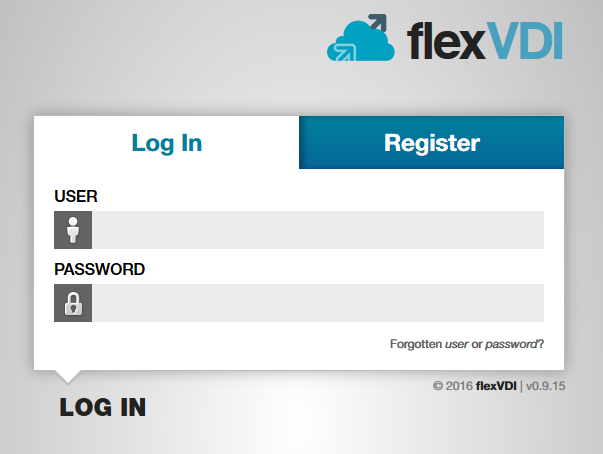
Access flexVDI Customer Portal
Open a web browser and go to https://portal.flexvdi.com. If you have not done it yet, register with a user name and a password in the 'Register' tab. Then, enter your credentials in the login form:
Once you have been logged in, go to the Products option, if you are not already there.

Download flexVDI Installer 3.0
From that section you can download the Installer and the latest images of the flexVDI Manager. You only need to download the Manager image if your hosts have limited access to the Internet.
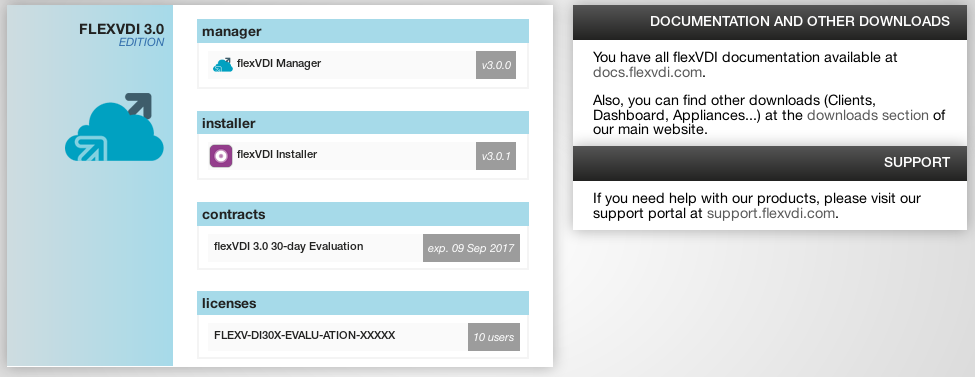
Here you will also find links to this documentation, other downloads and the support platform (http://support.flexvdi.com).
Contracts and Licenses
Since flexVDI 3.0, the product page in the Customer Portal shows the support contracts and user licenses that you have acquired. Support contracts allow you to receive support and software updates, while user licenses allow your users to connect to VDI sessions. By default, an evaluation contract and license are created when you perform your first installation, allowing you to test flexVDI 3.0 for 30 days with up to 10 users. As you purchase additional licenses and contracts, they will appear in the product page. More on contracts and licenses later in this guide.
Installing flexVDI 3.0
Unlike previous versions, that shipped as a full CentOS 6.5-based distribution, flexVDI 3.0 consists of a repository of RPM packages that can be installed on either Red Hat Enterprise Linux 7 or CentOS 7. So, first of all you have to install one of these two operating systems.
During the installation, please follow these simple guidelines:
- The minimal edition is enough to have flexVDI up and running. Although we do our best to avoid problems, installing other packages, in particular qemu-kvm and its dependencies, may result in conflicts.
On Red Hat Enterprise Linux 7, you will have to enable the
rhel-server-extras-rpmsyum repository for some of the flexVDI dependencies.- Upgrade to the latest revision of the distribution with
yum update, and reboot if the kernel version has been upgraded too. - The flexvdi package will conflict with any kernel for which an OCFS2 module is not yet available. This may cause some problems when a new RHEL / CentOS release becomes public (e.g. upgrading from 7.4 to 7.5), so try to stick to the previous version until we publish the new module.
Do not create a normal user named "flexvdi". Some flexVDI components make use of a user account with that name and they may fail in unexpected ways if you also use it to log in.
Then, the flexVDI 3.0 installer will help you configure the access to the repository. Download it to your first host and run it:
# chmod u+x ./flexvdi-installer-3.0
# sudo ./flexvdi-installer-3.0
The installer will first show you the End User License Agreement. You must accept it in order to install flexVDI 3.0. You can use "space" key to move forward, and "q" to end viewing the license terms (as you do when using the "less" command). Then, follow the instructions to log in the Customer Portal:
1.- Subscribe this host with the flexVDI Customer Portal
   Enter a name for this host [flexhost01.example.com]:
   Enter your Customer Portal username: test
   Enter your Customer Portal password: ********
Successfully logged in the Customer Portal!
The next step will show you a list with your currently active contracts, and you can select one of them. If there is only one, it is selected for you:
2.- Configure yum repositories

- Repository flexVDI 3.0 needs an active contract.
  Using contract flexVDI 3.0 30-day Evaluation (2017-08-22 - 2017-09-21)
Finally, the installer will use yum to install the flexVDI packages for you. Once done, you can continue configuring your first flexVDI host.
If you have any problem during package installation, you do not have to run the installer again. Just run 'yum install flexvdi' as you would do with any other package.
Updating flexVDI 3.0
In general, updating the flexVDI packages when a new version is published is as easy as running yum update on your hosts. However, always take these considerations into account:
- For binary compatibility issues, there must be a different kmod-ocfs2-flexvdi package for each CentOS/RHEL release. So, the flexvdi metapackage will block the installation of a new kernel for which a compatible kmod-ocfs2 package version does not exist yet. However, this is not bulletproof, so be advised that your image storages will not be accessible if you boot into such a kernel. Always check that your kmod-ocfs2-flexvdi package version matches your kernel release. Besides, if you update your kernel, you have to manually install the appropriate kmod-ocfs2-flexvdi package, because it is not automatically updated.
- Although they seldom change, updating ocfs2-tools-* packages will restart the ocfs2/o2cb service. This, in turn, will remount your shared storage volumes, killing any virtual machine that was using a virtual disk image in any of these volumes. So, better cleanly stop your virtual machines before updating these packages.
For more details about updating see Updating flexVDI host packages