flexVDI Manager installation
A flexVDI infrastructure uses an instance of flexVDI Manager to manage its resources and coordinate the actions of the all the components. This instance can be created and managed with the flexVDI Config tool. A single flexVDI Manager instance manages a full flexVDI cluster with several hosts. Therefore, we will perform the flexVDI manager installation only once during the installation of the first node of the cluster. The rest of the hosts only need to be registered with the manager; this step is explained later in Managing the cluster.
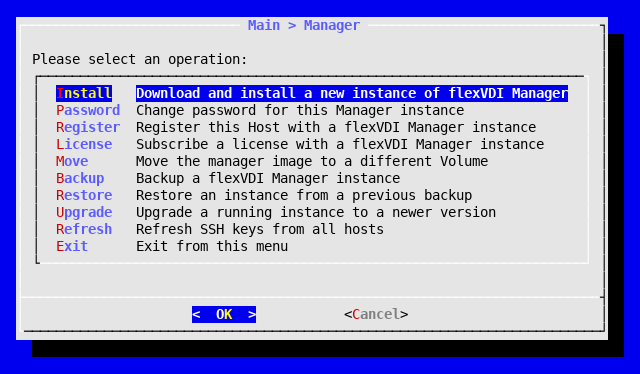
The "Manager" option in flexVDI Config shows a menu with the following options:
- Install: Install a new instance of flexVDI Manager.
- Password: Change the password of the flexVDI Manager instance.
- Register: Register the current host with an instance of flexVDI Manager.
- License: Add a user license to a flexVDI Manager instance.
- Move: Move the flexVDI Manager's disk images to a different volume.
- Backup: Back up the information managed by the flexVDI Manager.
- Restore: Restore a backup.
- Upgrade: Upgrade the instance of flexVDI Manager.
- Refresh: Query the flexVDI Manager instance about the SSH Keys of other hosts, and update them.
Starting the installation
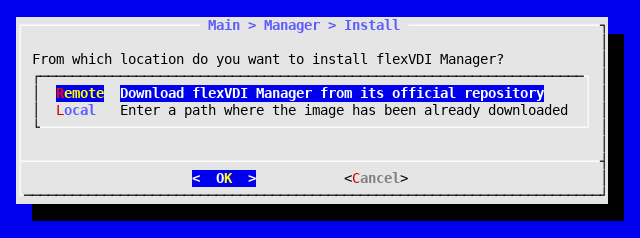
To start the installation of a new flexVDI Manager instance, select Install in the Manager menu. You will see a dialog to select the source of the image of the flexVDI Manager.
To install the flexVDI Manager you need to download a base image with the desired version of the software. You have two options:
- If the Host has Internet access, select the Remote option and follow these steps:
- Choose the download destination (/var/tmp by default).
- Select the version of flexVDI Manager to install.
- Wait for the download to complete.
- If you do not have Internet access, download the image from the Customer Portal in another computer and copy it to
/var/tmp in the host. You can use thescpcommand for this task. Then select Local.
If after downloading the image using the Remote option, you cancel the installation, you can later select the Local option to load the image from the directory where you previously stored it to avoid having to download it again.
Installation parameters
The installation process will ask you some parameters to configure the instance of flexVDI Manager.
Planning the Manager's network configuration
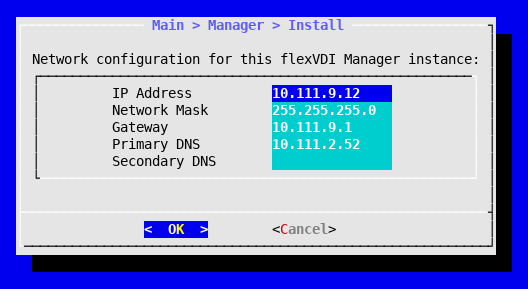
The flexVDI Manager instance is a full virtual machine of its own. This means that you need to reserve a unique IP address for the Manager, different than the one you set for your host in the previous step. Usually, you assign IP addresses to hosts and the Manager in the same network segment, but they can live in different segments as long as they are able to reach each other. In our example, in the previous step we have set the host's IP address to 10.111.9.4, and we will set the Manager's IP address to 10.111.9.12 here.
Instance number
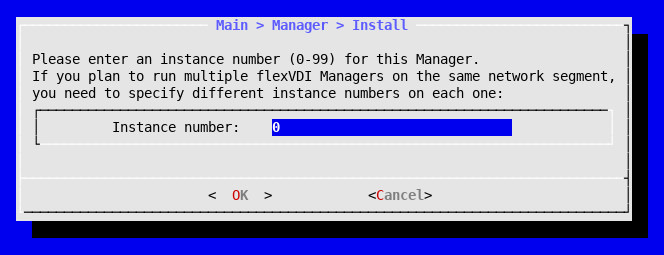
In order to be able to uniquely identify each flexVDI Manager instance and the Guests managed by them, an integer from 0 to 99 is used, known as instance number. If you plan to install multiple flexVDI Manager instances in the same corporate network, make sure you are using different instance numbers for each one. The next step in the installation will ask you to introduce an instance number for this Manager.
Destination path
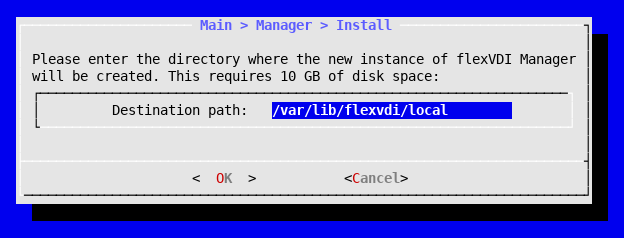
A flexVDI Manager instance requires approximately 10 GB of disk storage. By default, it is created on the directory /flexvdi/local, which is located on the root partition. If this location doesn't have enough space for the installation, you will need to specify an alternative path.
Network bridge
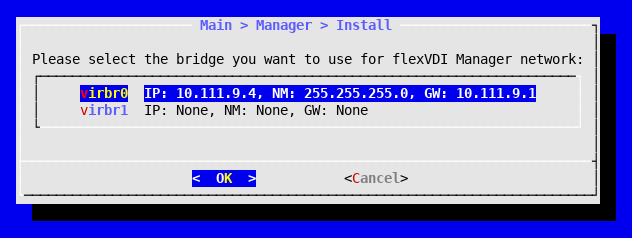
A flexVDI Manager instance needs to be connected to a network bridge to access the corporate network. Select the virtual bridge virbr0 you created previously.
VLAN management
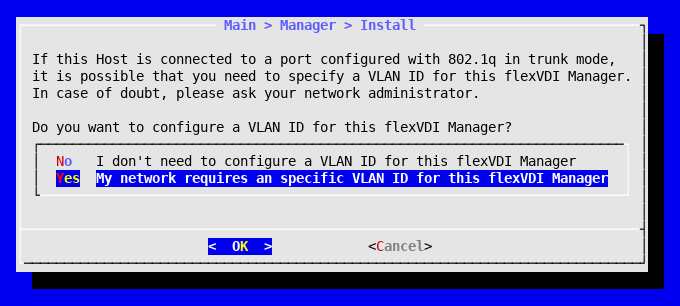
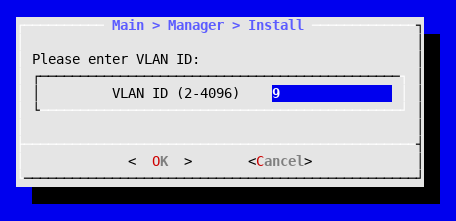
In the event that the flexVDI Manager needs to receive traffic from a tagged VLAN, you must specify the ID of the VLAN like this:
Network parameters
Enter the IP address, network mask and, optionally, the gateway address that this instance will use. Please remember these parameters cannot be the same as the ones configured for the Host. For convenience, flexVDI Config will try to guess most of these parameters.
Instance deployment
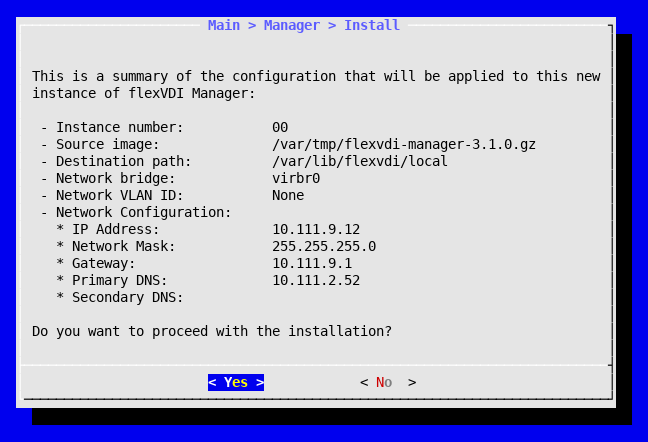
After completing the previous steps, a screen with a summary of all information entered will be displayed:
Please review the data, and choose YES if it is correct. Then, an automatic process will start to deploy your new instance. This process will take a few minutes, and can't be interrupted. After finishing, you'll be notified of its outcome.
You may see a warning message issued by the kernel saying something like "KVM: vcpu0 disabled perfctr wrmsr". Fear not, according to Red Hat you can safely ignore it.
Change the default password
After the installation of flexVDI Manager instance, it is highly recommended that you change the default password (flexvdi). To do this, follow these steps with the flexVDI Config tool:
- Select Manager option in the main menu.
- Select Password.
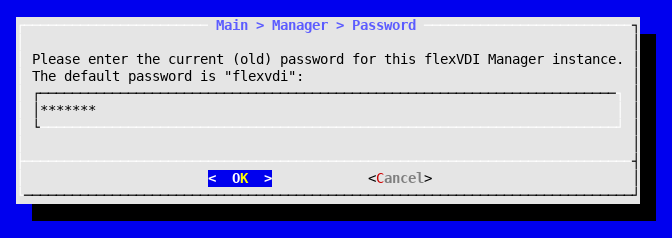
- Enter the current password for your instance of flexVDI Manager.
- Enter your new password twice.
From now on, you must use your new password for all tasks that require connection to the instance of flexVDI Manager, both from flexVDI Config and from flexVDI Dashboard. flexVDI Config caches the password for the current session when you enter it for the first time, so that you do not have to write it again for each consecutive operation you perform with the flexVDI Manager.
Register the host with flexVDI Manager
Once the Host and the flexVDI Manager instance have been configured, you need to register the Hosts so that the flexVDI Manager can start managing its physical resources. This can be done with the flexVDI Config tool, following these steps.
- Select Manager in the main menu.
- Select Register.
- If asked to, enter the password for the flexVDI Manager instance you just installed.
- Finally, flexVDI Config will advise updating the SSH keys of the hosts connected to this instance of flexVDI Manager. Do it.
