Creating and starting a Guest
- FlexVDI
Analytics
In previous chapters we have set up the disk storage elements required for our new virtual machine.
We are now ready to create a Guest. But first, do not forget to copy the installation media of your preferred operating system to the Media Storage. Then, open the "Guest/Host/Pool" section of the tree view, and right-click on the pool where you want to create the Guest. Click on the "New Guest" command.
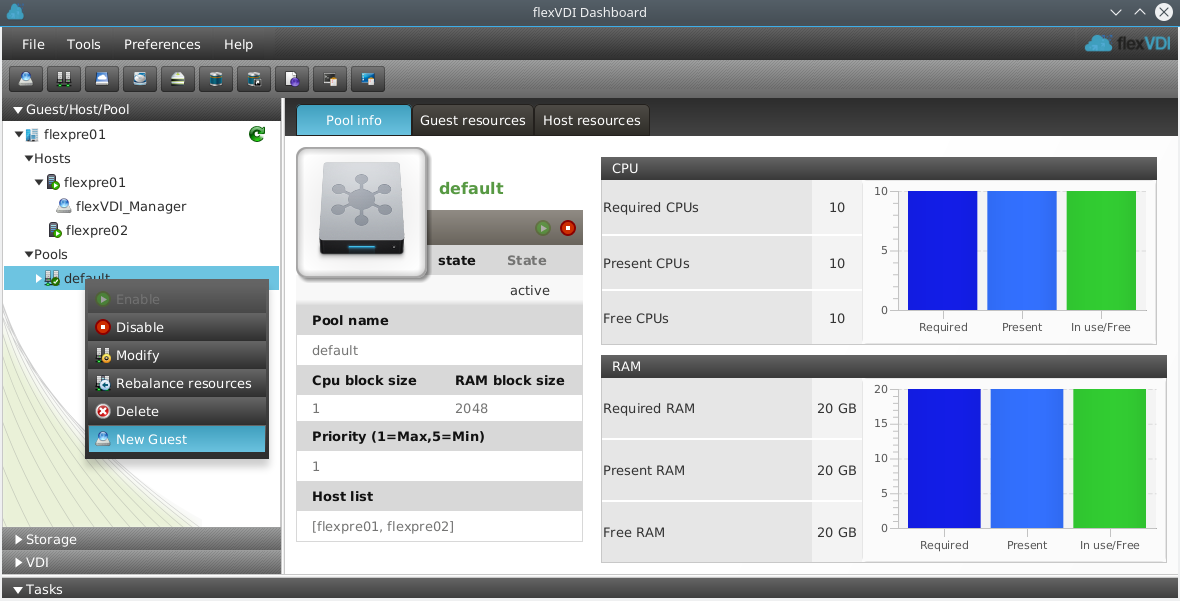
Alternatively, click on the button with the Guest Icon (blue ball on a box). It is located under the "File" menu item. A wizard will be shown that will guide you through the process of Guest creation.
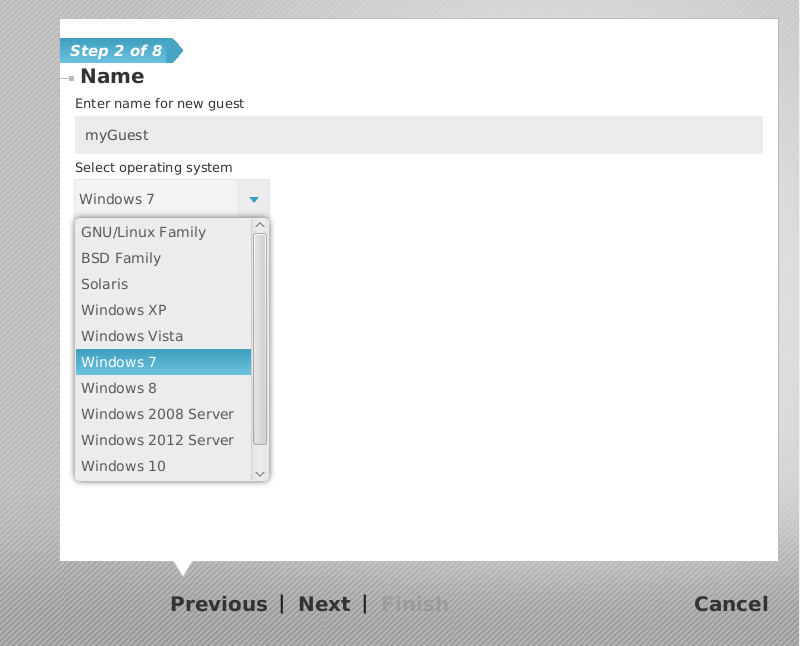
Enter "myGuest" as the guest name. Then select the Operating System that you plan to install on the Guest, or the best match in the list. This selection is used by the wizard to choose for you the kind of virtual hardware (virtual network card, virtual disk controller, ...) that the virtual machine will have on creation. Click "Next".
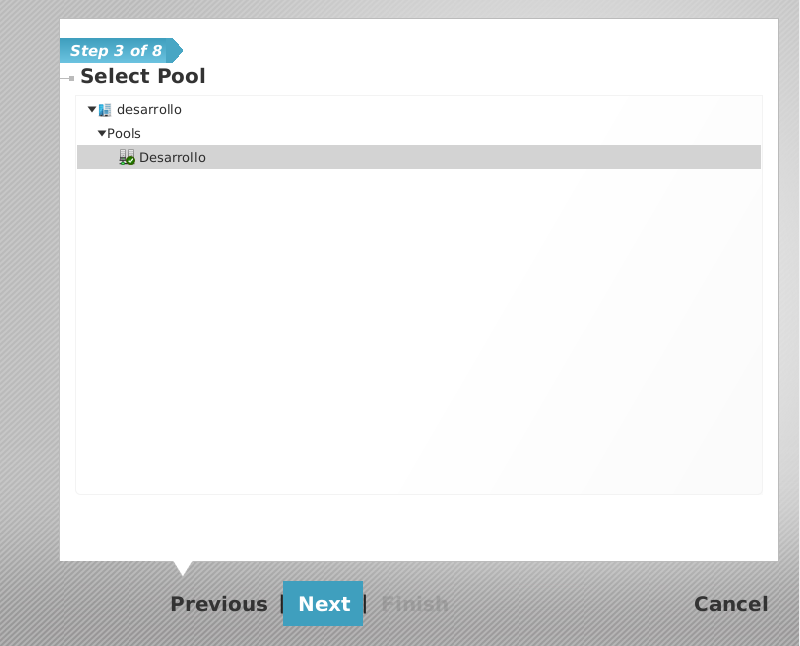
Now choose the Pool where the Guest will be created. Click Next:
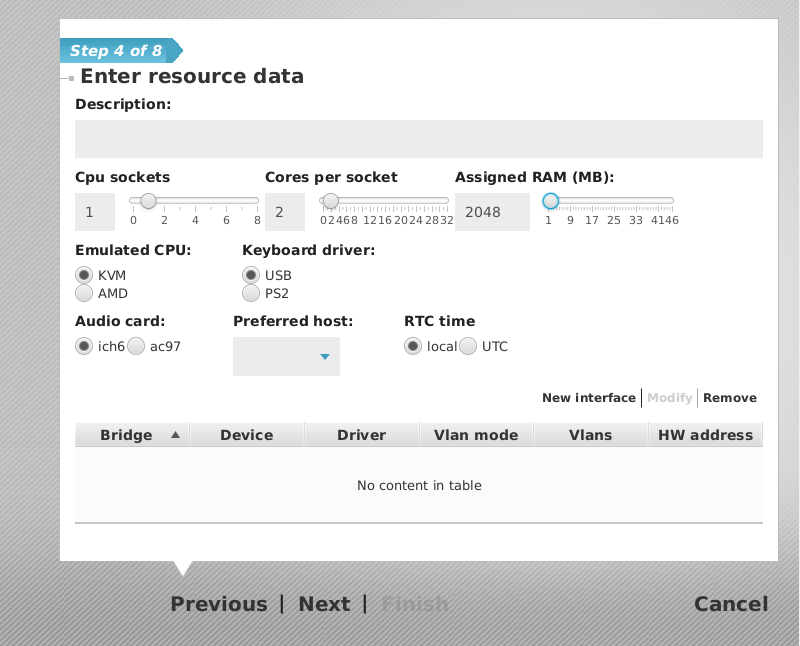
In this screen we can configure the virtual hardware of our Guest. Choose the amount of virtual CPUs and RAM that you want this Guest to use. In the "Description" field you can enter a descriptive text stating the intended use of the machine, or note down whatever information that you consider useful related to this Guest.
The kind of emulated CPU, keyboard driver, audio, etc is selected by the wizard, based on the OS that you selected in the previous wizard screen, and the kind of hardware that different OS's support best. You shouldn't change these, unless you perfectly know what you are doing. Changing these settings to values not supported by your OS, can make your Guest OS installation to fail.
Preferred host tells flexVDI Manager on which flexVDI Host should the machine preferibly run. You can leave it empty if you want to let the Manager decide (this is the default). Keep in mind that resources are assigned to Guests in order of Pool priority, and having selected a Host as preferred does not ensure that a Guest will run on it, as it may have been assigned to another pool of higher priority. If a Guest must run on a specific Host, you should create a Pool with only that Host, and create the Guest in it.
RTC time is used to select the kind of time zone that we want the virtual hardware clock (RTC) of the Guest to store. Different operating systems have different expectations on these value, and it is needed to select the right value if we want different OS'es to run on the same Hosts. The wizard will select the right value based on the O.S selected in the previous step.
Lastly, you can create one or more network interfaces for the Guest. Click on "New Interface", and you will be presented a screen like this:
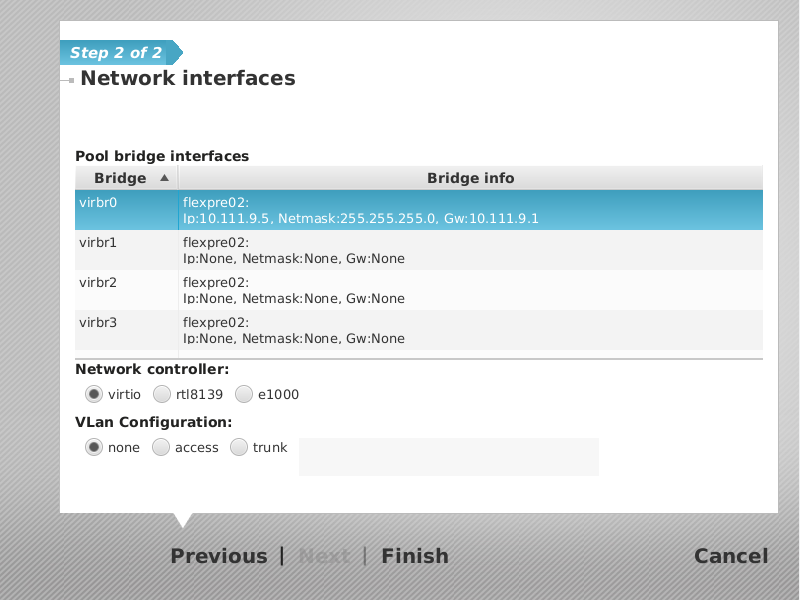
This interface will be connected to one of the virtual bridges created on the Host with flexvdi-config during server installation and configuration. In this example installation, we will select virbr0 and click on Finish.
In a more advanced configuration, the VLan configuration can have the following values:
- none: This is the simplest configuration, and the one used when there is no VLAN in place, or they are only visible by network hardware, but not in virbrX. The port of the virtual bridge that is connected to the Guest sends/receives untagged packets.
- access: You have to configure the VLAN_ID in the textbox. VirbrX sends/receives packets with the given "VLAN_ID" from the network, and sends/receives untagged packets to the Guest. This is equivalent to configuring a hardware switch port in access mode, hence its name.
- trunk: You have to enter a list of comma separated VLAN_ID's in the textbox (something like "1,23,60", or "5" if there is only one id). The packets that belong to one of those vlanś will be passed unmodified to the Guest, which will need to be configured properly to access those networks. This is equivalent to configuring a hardware switch port in trunk mode.
All these settings can be changed later (before or after installation of the Guest O.S.), if a different resource set is required. Now click "Next".
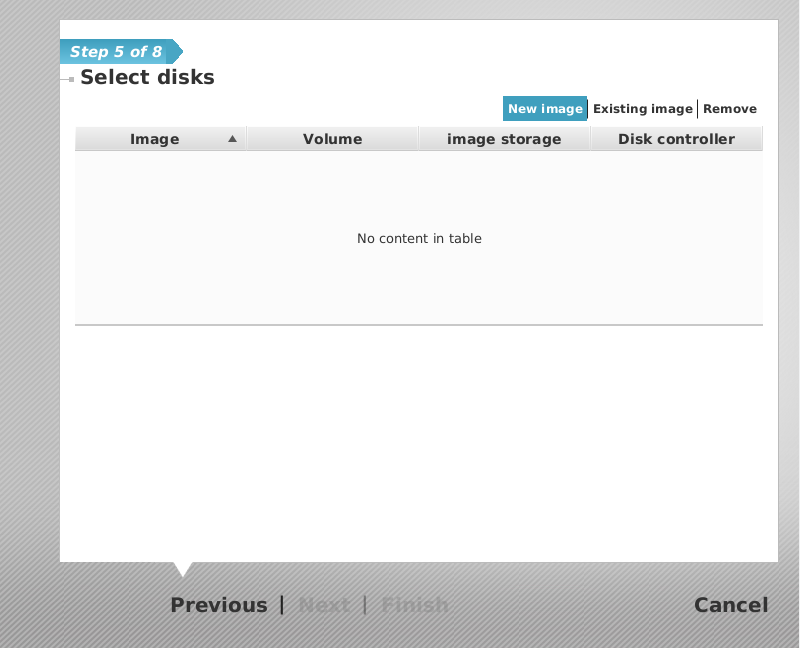
Now we will configure the storage units of our Guest. In a previous chapter we configured a Volume called MyExternalVolume, that we will now use to store the virtual disk image of our Guest. Now, to create the new virtual Disk Image, click on "New image".
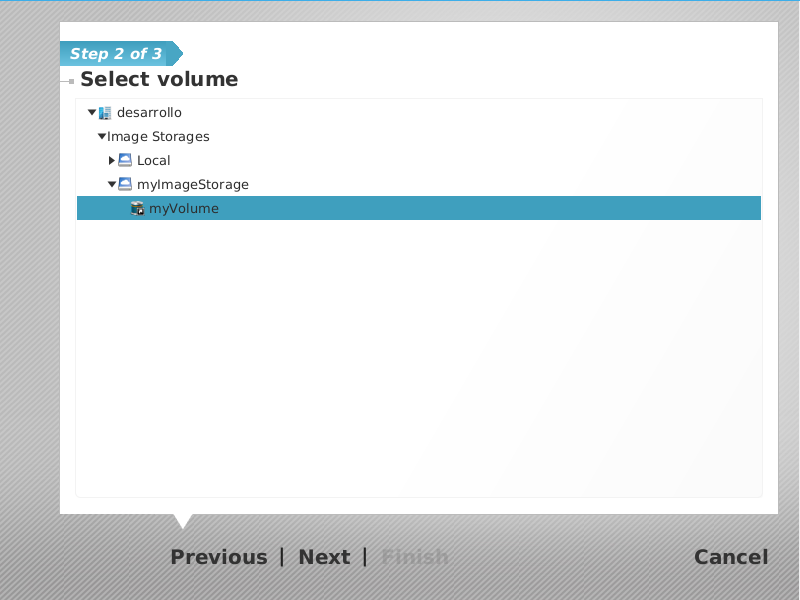
To select the Volume where the Disk Image will be created, open "MyImageStorage", and select the Volume "MyExternalVolume" which is inside. Click "Next".
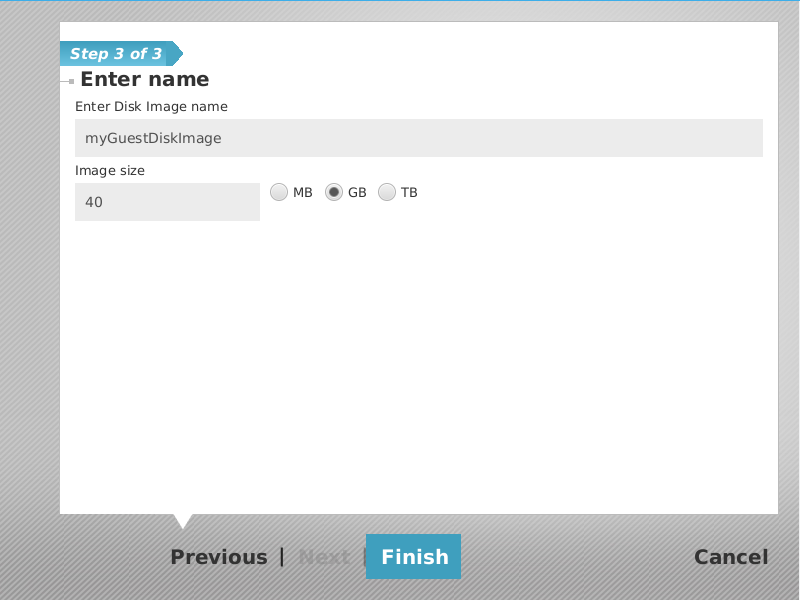
Now enter "MyGuestImage" as the name for the Disk Image. Enter the size of the Disk Image for your Guest (40 GB should be enough for any simple OS installation, but check your OS installation requirements), an click "Finish" to create the image in the selected Volume.
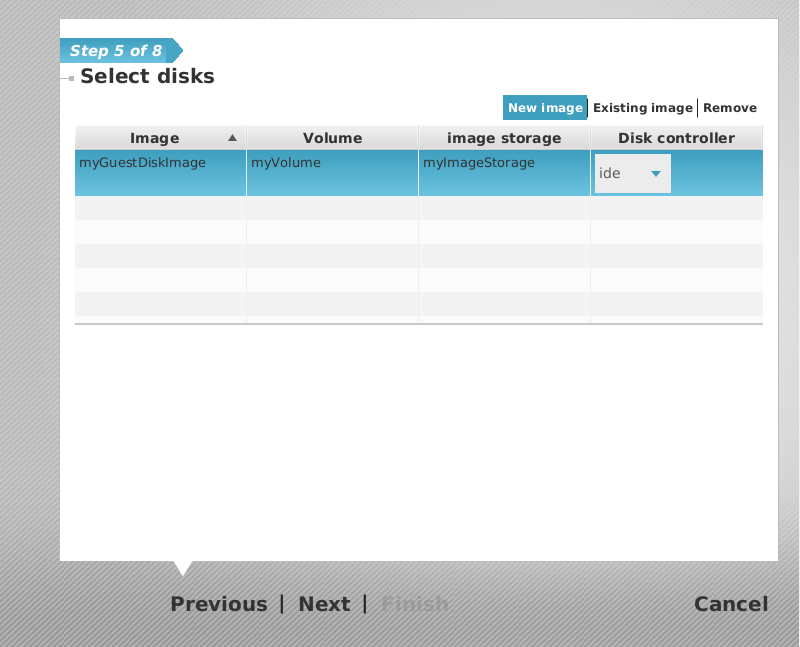
Now that the Guest has a disk image, click "Next".
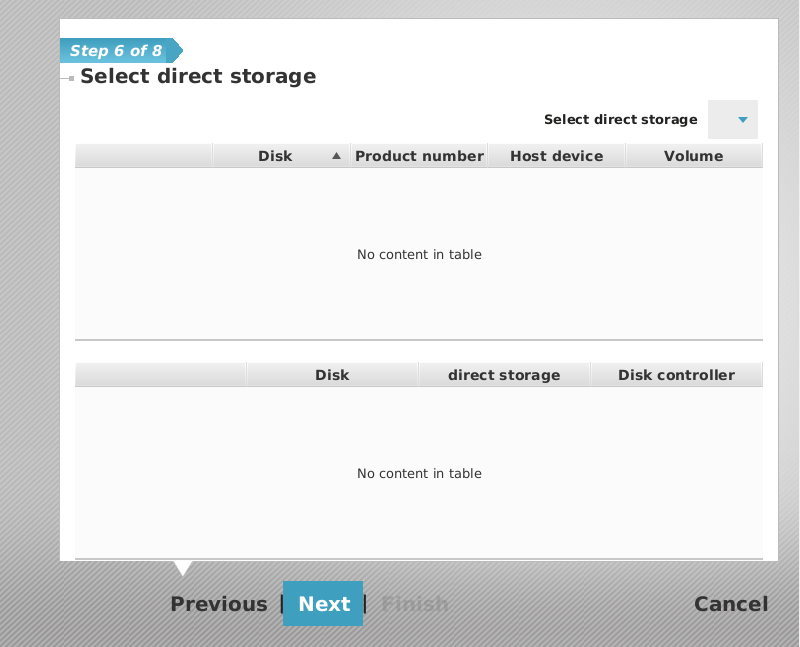
Direct Storage allows Guests to directly access physical disks attached to the Hosts. We won't use them in this simple installation, and we have not defined a Direct Storage, so there is nothing selectable here. Just click "Next".
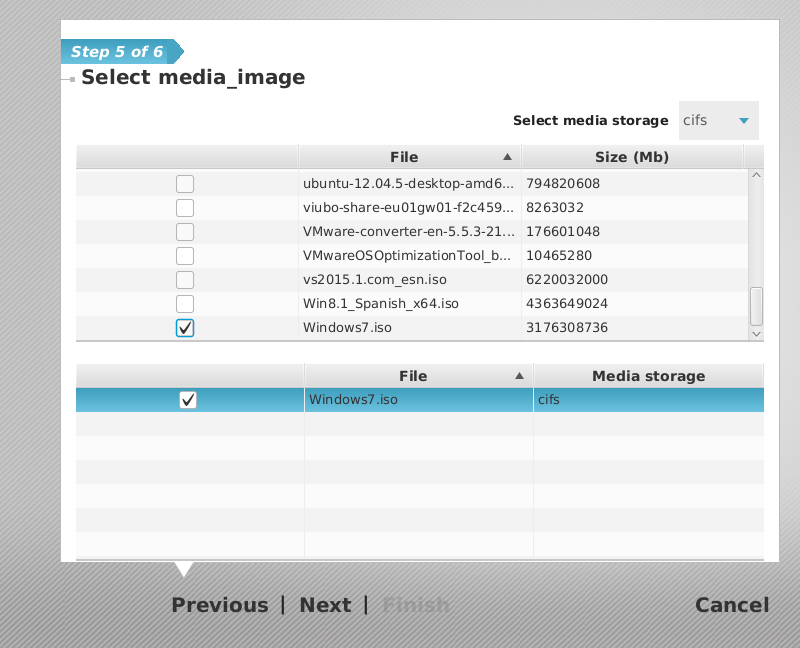
Select "cifs" in the drop down list in the upper right corner. You will see a list with the files contained in the selected Media Storage. Select the image file of the OS that you want to install. The selected image file will appear in the list in the bottom of the window. This is the virtual equivalent of putting a DVD in a physical machine. Remember to remove the disk from the drive after installation, as you would normally do. Click "Next".
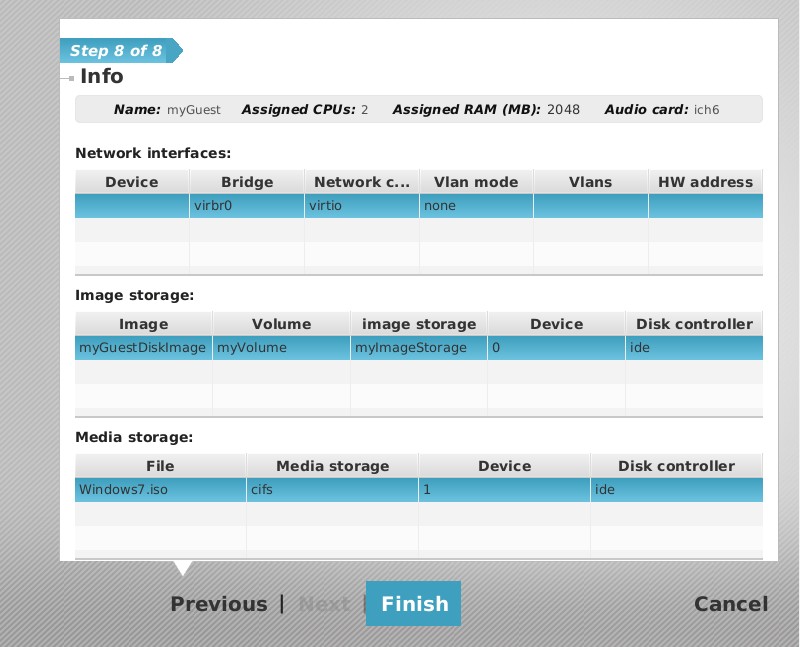
Now you are presented with a summary of the configuration of the Guest you are about to create. Review it, and if everything is right, click "Finish". You have created your first Guest with flexVDI Dashboard. The red circle with a white square in the icon shows that it is stopped. In the next step we will start it.
Starting the guest
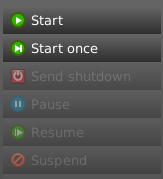
There are two ways to start a guest: with the "Start" command and the "Start once" command. The difference is that with the "Start" command, if the virtual machine is stopped for any reason outside of the Dashboard, flexVDI will start it again. This option is specially useful for server type machines. For now, simply right click on the Guest and click on "Start once".
You have just asked flexVDI Manager to start a Guest. This operation takes several seconds to complete, but you didn't have to wait that time to go on managing your infrastructure. flexVDI Dashboard does not make you wait until the operations you request complete; instead, you can immediately continue using the program because all communication between flexVDI Dashboard and flexVDI Manager is asynchronous. As a result, sometimes the information you see on your screen is not completely up to date, as it can take some seconds to be refreshed. If you want to see the up to date state of your systems you can click on the "Refresh" button (the green arrow in the right top corner of the Data Center tree) to refresh all the information about your infrastructure.
Connecting to the Guest
Now you will want to access the console of your new Guest. When a Guest is started, the "Open Console" option is enabled in its context menu. You can click on it, and a new window will open.
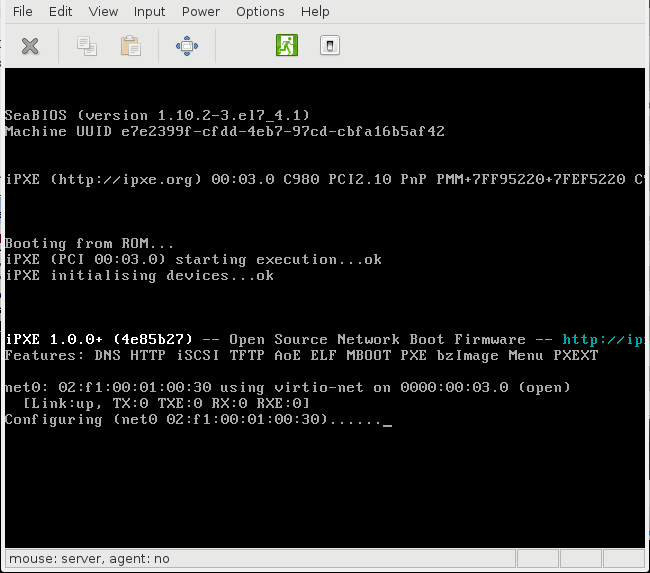
Congratulations! You have successfully created your Guest, and you have opened its system console. You can proceed with the Operating System installation now. Check the chapter on how to Improve performance of Windows guests for specific notes about this operating system.
Troubleshooting:
"Open console" needs to open a network connection to a port > 5899 (like 5900, 5901, 5902, ...) of one of the flexVDI Hosts (the one that is running this virtual machine).
If the guest console window is not opened in a few seconds, check that there is network connectivity from your local machine to those ports in the physical host.
The guest tools
flexVDI offers the flexVDI Guest Tools. This software significantly improves the user experience providing features and improved performance. When you complete the installation of the O.S, with your machine still running, you can right click on the Guest in flexVDI Dashboard, and then click on the "Insert Tools" command. A dialog will offer you to select a virtual optical drive where to insert the guest tools ISO image; if the drive is in use by another image, they will be swapped. This will insert a virtual optical disk in the machine that will start the installation of the software. Alternatively, you can download the latest version of the software from http://depot.flexvdi.com/guest-tools/
The flexVDI Guest Tools for Windows include device drivers for several paravirtualized devices. In particular, they are needed for the virtio network interface and the virtio disk controller. If you want to install Windows directly on a virtio disk, you will have to insert the guest tools during the installation and load the viostor driver, in order to detect the hard drive and continue with the installation process.