Introduction
flexVDI Dashboard provides a graphical user interface to manage the Guests, Pools, and other logical objects of the flexVDI virtualization platform. This tutorial provides an introduction to basic operations using the flexVDI Dashboard. It describes the parts of the program which correspond to the objects in the infrastructure. The tutorial will guide you through the steps required to set up a basic environment, until you create a Guest machine and connect to it. This guide assumes that you have a running flexVDI Manager and a flexVDI Host, as described in the Getting Started guide.
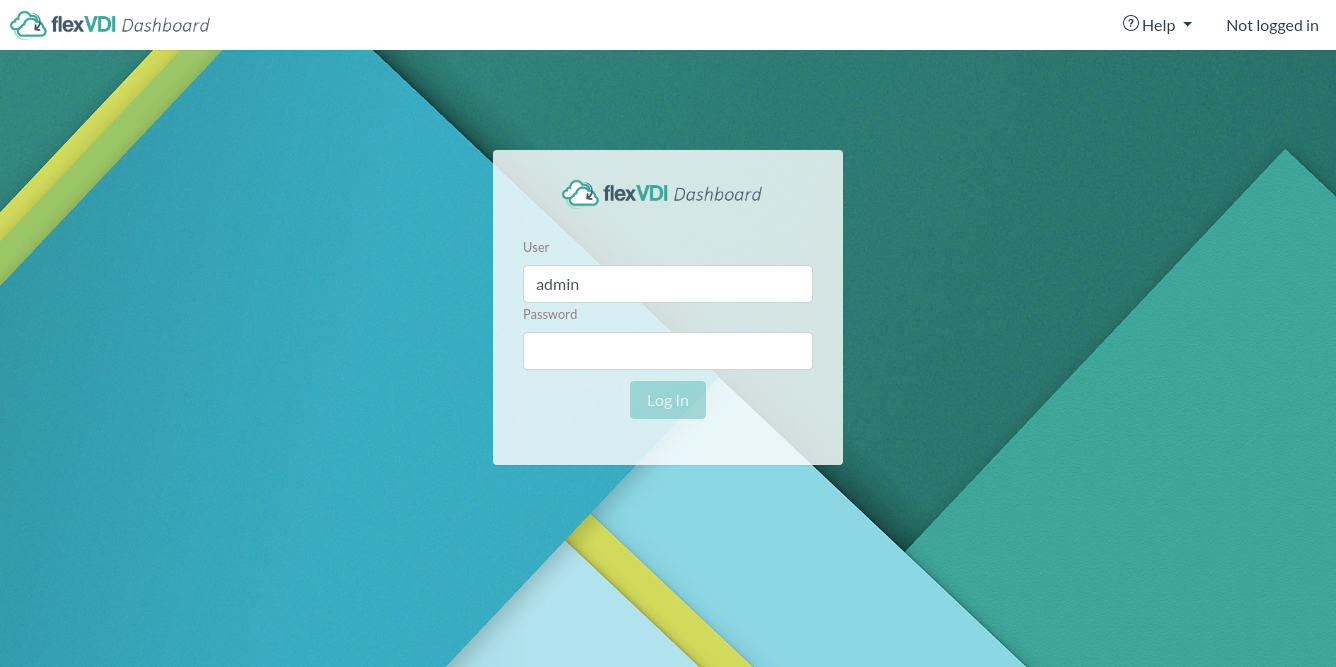
As of flexVDI 3.1, flexVDI Dashboard is a web application served by the flexVDI Manager instance, so no installation is required. Just open a modern web browser and point it to https://your-manager-ip. Your browser will complaint about the server TLS certificate being self-signed. This is normal, just add an exception for it (but make sure you are connecting to the right IP address). You will see the login form:
As of now, only one user (admin) exists, with superuser rights. Use the flexVDI Manager instance password to log in.
Minimum browser version
flexVDI Dashboard uses some modern web APIs, and will only work on these web browsers:
- Mozilla Firefox
- Google Chrome
- Apple Safari
- Opera
- Microsoft Edge: Not supported
- Microsoft Internet Explorer: Not supported
Previous steps
In order to follow the instructions in this guide, you'll need to set up the following infrastructure:
- One flexVDI Host
- One flexVDI Manager
- One Windows shared folder (or another CIFS/SMB server) with an ISO image of the Operating System installer for the Guest Virtual Machine.
The Getting Started guide provides detailed information on how to install and configure your flexVDI Hosts and flexVDI Manager, and explains how to setup a CIFS server using flexVDI Config.
While following this guide, you will need to have the following information at hand:
- flexVDI Hosts: IP address or name, and a path with disk space to store the disk images of the virtual machines.
- flexVDI Manager: IP address, user (default is admin) and password.
- Network path (server ip, path, and file name) and credentials (user and password) to read the ISO file with the OS Installation that you want to install in your Guest.
Overview
In this guide we will create the elements needed to start launching Guest Virtual Machines in a simple infrastructure. We will:
- Define and use a connection to the flexVDI Infrastructure interlocutor: flexVDI Manager.
- Define the disk space where our Guest´s disks will be stored: a Volume.
- Define the shared folder where the OS installation files reside: a Media Storage.
- Finally we will create a Guest, launch it, and connect to its console.
