Creating a local Media Storage
- FlexVDI
A quick way to start installing guests on the platform is to have a Media Storage offering ISOs stored in a local directory from your first flexVDI Host. The flexVDI Config tool provides an option to manage a local Samba server for this purpose. Beware that it will destroy your current Samba configuration, so if you want to keep it you should add a Media Storage manually. Read the guide on how to configure storage objects for further information.
To manage the Samba server with flexVDI Config, follow these steps:
- You need the samba package. If you do not have it yet, install it with the command
yum install samba. - Start flexvdi-config tool.
- Select the CIFS option from the main menu. The tool will warn you that your current Samba configuration will be destroyed. Select yes and you will see the following menu:
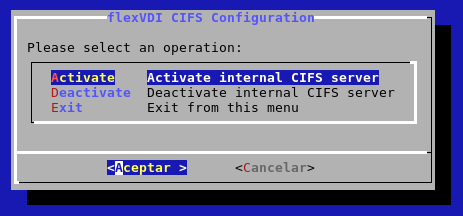
- Select the Activate option.
- If asked for, enter the current password for your instance of flexVDI Manager.
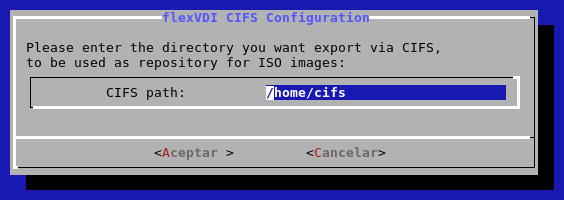
- Enter the path that will house the ISO images in your host. If it does not exist yet, it will be created.
- Enter and confirm the password that will grant access to that route. The user name will always be flexvdi.
Once finished, you will see a message confirming the result: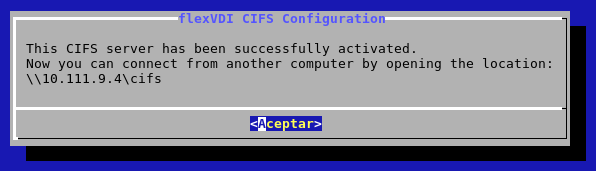 This procedure has:
- created a cifs shared folder accessible from other machines to store ISO images.
- created a Media Storage called cifs.
Copy ISO images to that directory, and they will be available for flexVDI Guests as boot media. Now follow with the First steps using flexVDI Dashboard guide to start managing your new flexVDI platform. Enjoy it!